Whether I am prepping for a wedding day or photo shoot, there are certain go-to items that I always include in my “kit” and prep ahead of time. I find that they create options, allow for interest and diversity in final imagery, and ALWAYS create a less stressful environment to work within! I mean, lets be real, when the clock is ticking and you need to capture the essence of an event and its details QUICKLY, styling can be super stressful. These are my favorite items to carry along and help me to stay prepared and on top of the day!!
Styling Boards
I like to prepare 1-2 styling boards that coordinate with the specific design. Essentially, these are foam boards (I use foam core from Hobby Lobby!) wrapped in some sort of material or fabric that you can use to style details against. You can also paint wooden boards or craft some other sort of fun backdrop, depending on how creative you feel!!
Always keep in mind, when selecting or creating your boards, you want your backdrop to be cohesive with all of the other design elements and colors of the day and, in most cases, relatively calm in style. This will allow you to create images that highlight the details you are working with, while simultaneously building a full gallery of images that compliment each other and allow for a beautiful portfolio of work!
When in doubt, try an off-white or neutral linen fabric! They tend to be my favorite!
Prep your boards ahead of time, and make sure they are picture ready when you arrive on site (fabric should be ironed and wrapped tightly). This will save you a TON of time on game day and allow you to style quickly and with more attention to detail.
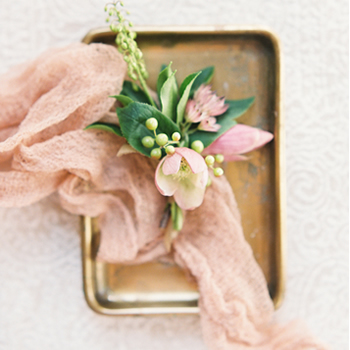
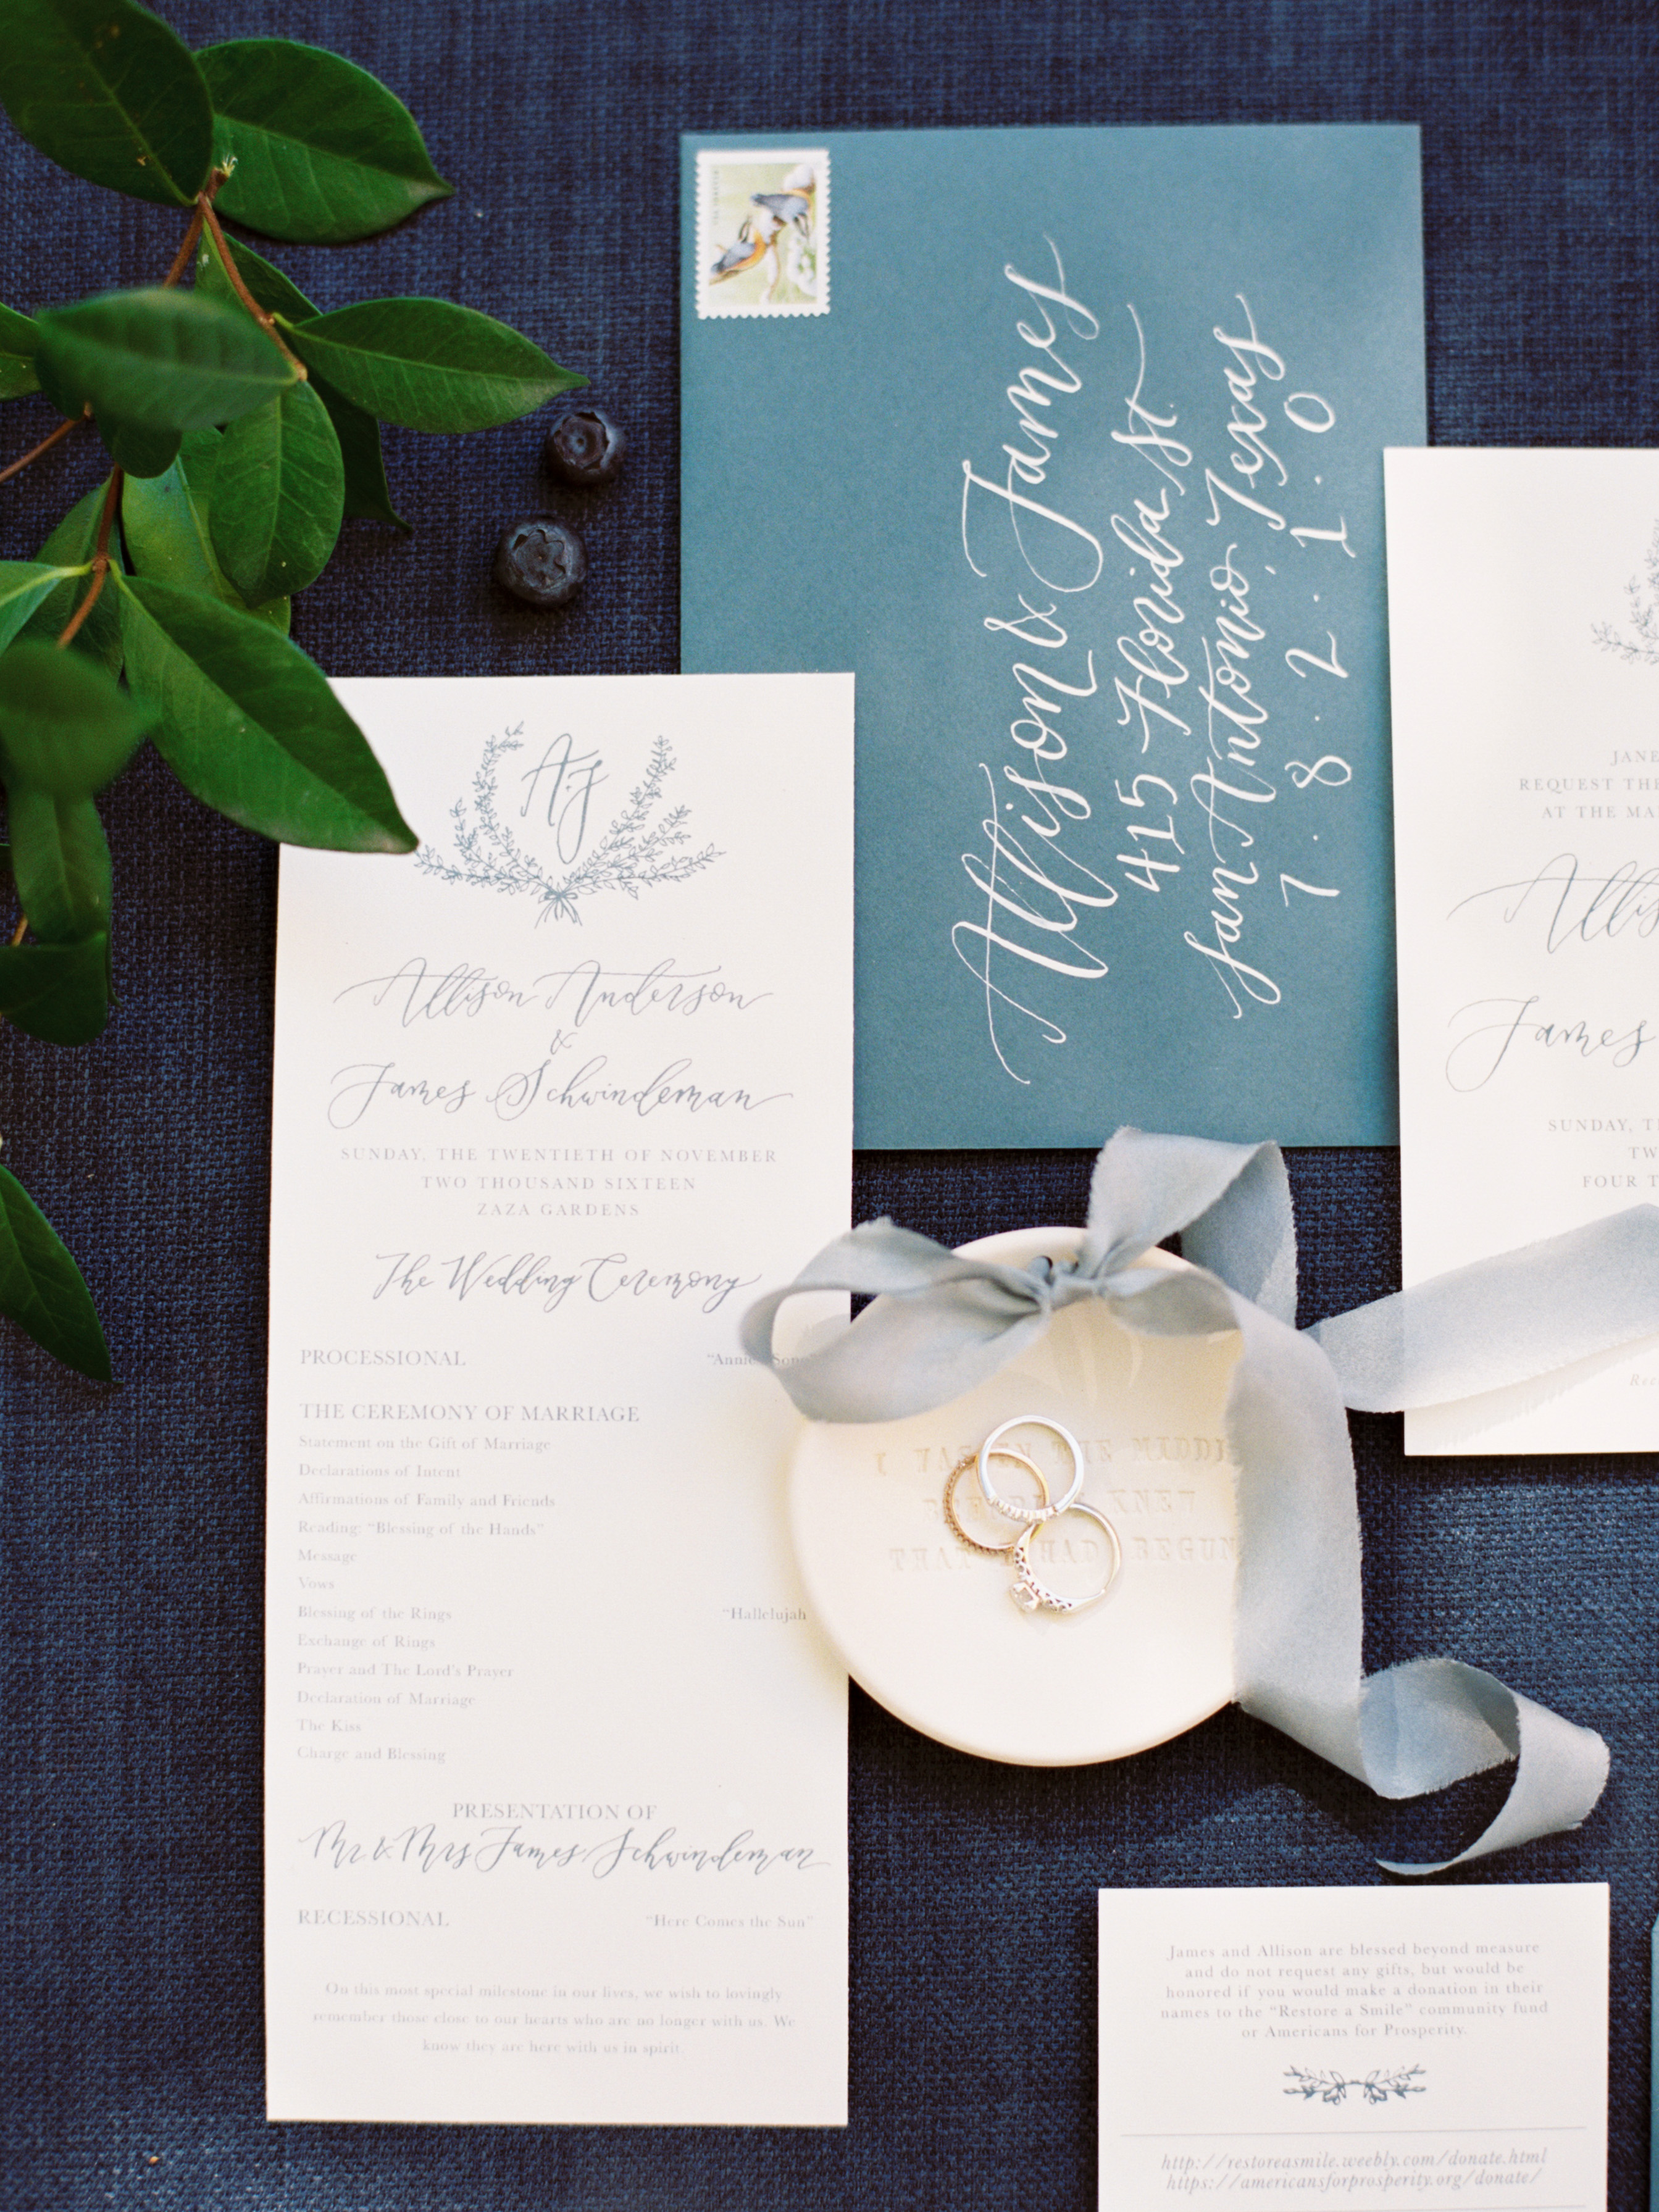
A Really Good Tray
For those of you who have worked with me before, you know that I LOVE a good tray! It can be metal, wood, a woven texture, you name it! The beauty of a tray (or shallow basket, dinner plate, charger, etc…) is that it serves as an immediate tool for showcasing something special. It becomes a beautiful frame!
I will typically take 2-3 small to medium sized trays to an event, each selected to compliment the design, and use them to help highlight and frame the smaller details….boutonnieres, bouquets, shoes, rings, cufflinks, etc!
As with styling boards, I find that neutral and design appropriate “trays” work best, as they frame well, without stealing attention from the detail itself. I love to select styling trays in 1-2 different textures or finishes. For example, if I am using a lot of dark tones and iron finishes in the design I may use iron trays and mix in some wooden or woven wood pieces if they work well. By keeping your finishes intentional and cohesive, you will allow your gallery of images to blend well and compliment each other side by side!
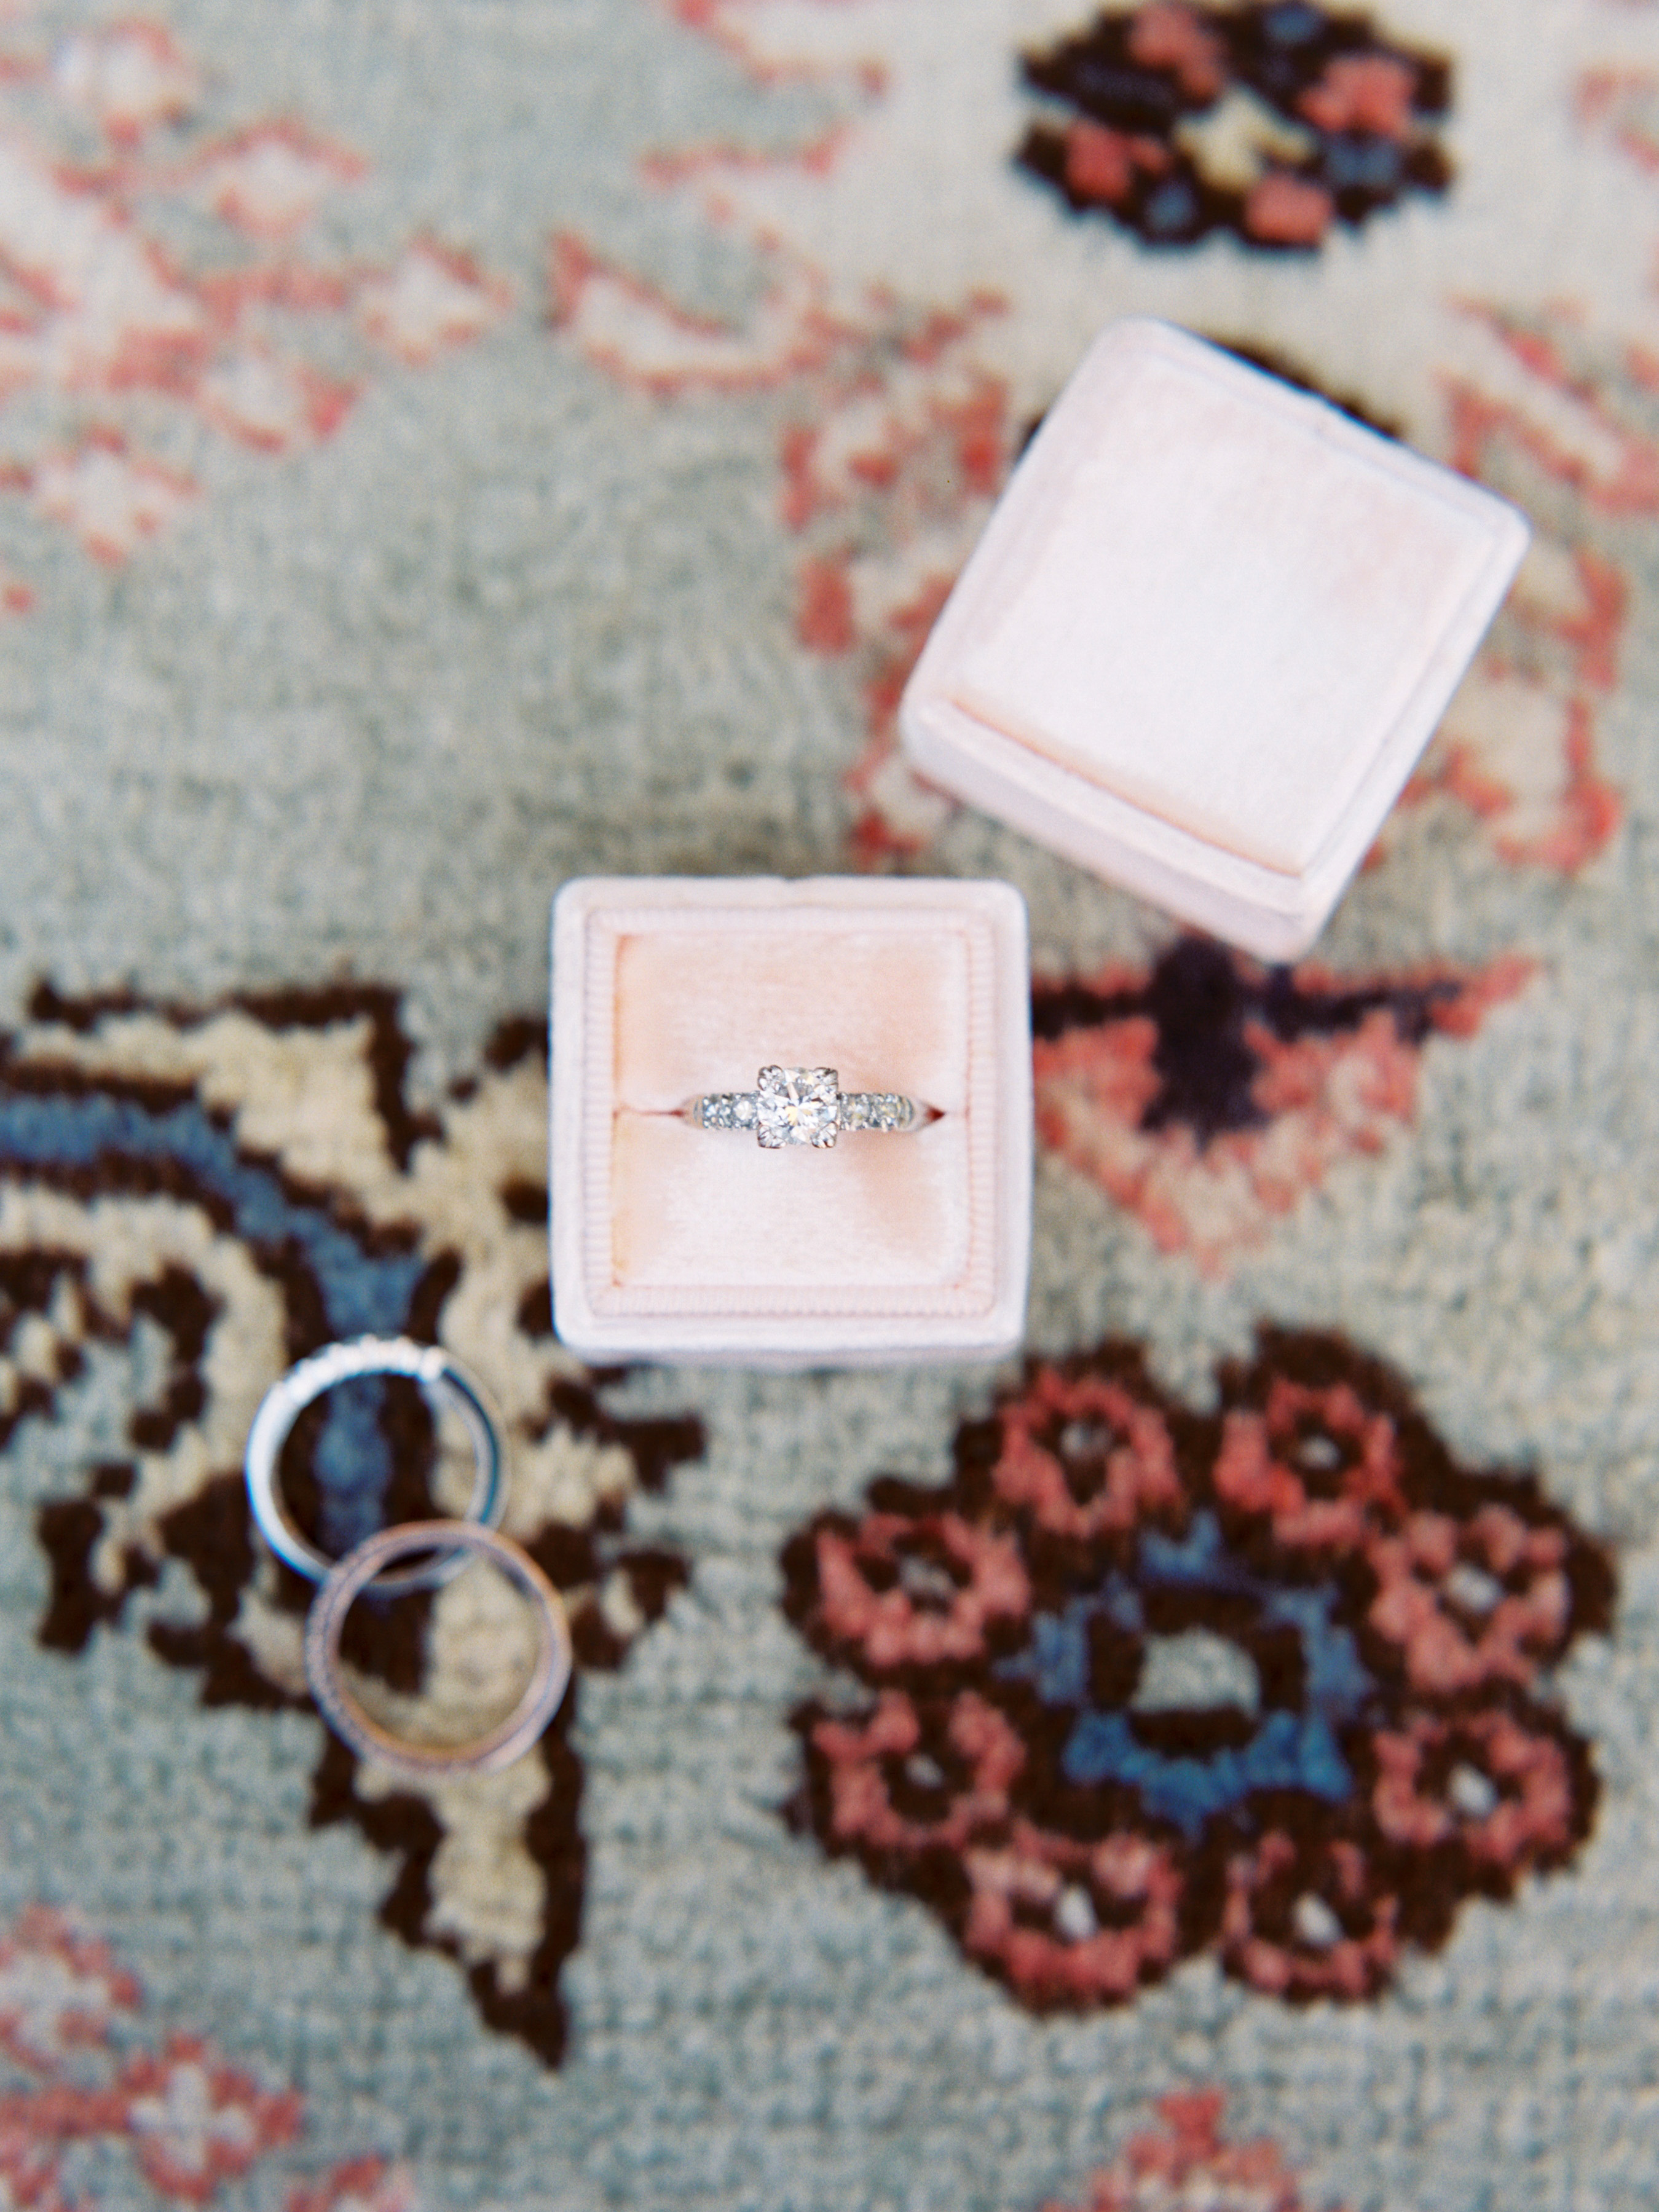
A Really Special Piece
Every now and then, there is a really special design backdrop or prop that compliments an event or photo shoot perfectly. For me this is typically an intricate rug or uniquely patterned piece of fabric. I love to use these special pieces for one or two detail shots! The key to pulling this off is making sure that you allow your “prop” to shine, with a very simple detail item on top of or in front of it. So, in this case, you are equally highlighting the “prop” AND the detail item!
I generally hunt for these pieces at the very end of the design process, so that I can ensure that they correspond with all of the other pieces of the design puzzle!
You may also find that these pieces exist within the venue or shoot location themselves! Keep your eyes open for special flooring, textiles, furnishings and “styling” props. If they live within the location you are working, the odds are, they will serve as lovely and interesting visuals to enhance your established aesthetic.

Fruit, Floral and Foliage
I am the GREATEST fan of incorporating fruit, floral and/or greenery into various styling aspects, as they are immediate sources of life, texture, depth and energy!
You can style leafy vignettes, dabble berries for interest or even create a fully designed floral border to frame or highlight your details!
A couple of quick notes:
-Make sure that your selections make sense. If you want your imagery to be cohesive, the colors and items you choose to work with should work with the design. If you are styling with flowers, make sure that they are the same flowers being used in all of the other images and throughout the event.
-Less tends to be more. You want to highlight and create interest! Make sure that you continually edit, so that you do not overpower your image!
-Always have a small cutting board and knife on hand in your kit, as well as a good pair of scissors. You will thank me for this!
These couple of quick prep items have helped me immensely! Hopefully they help you too!
xo,
m
Photo Credits: Michelle Boyd & Kayla Barker