There is no question about the fact that we at Mayhar love wands. Flower wands, magic wands, fairy wands…you name it. We wanted to share with you a quick and easy DIY, for fun and colorful ribbon wands.

While we are presenting it today as a festive and flirty addition to your New Year’s Eve celebration, keep in mind other places & events that could use an extra splash of color. Perhaps you have a small fairy princess in your life that needs a frilly wand, or a birthday party in need of colorful favors. We are also loving the idea of using these colorful streamers as a beautiful send off for any bride and groom. By carefully selecting the perfect shades of paint, glitter and ribbon, you can quickly and easily create your own custom ribbon accessory. Here’s how!
You will simply need to following:
- 1 dowel rod (mine is about 1/4″ in diameter and cut down to 12″ tall)
- Acrylic paints in any colors you like (I am currently obsessed with the Martha Stewart paints from Joann’s. The color tones are stunning!)
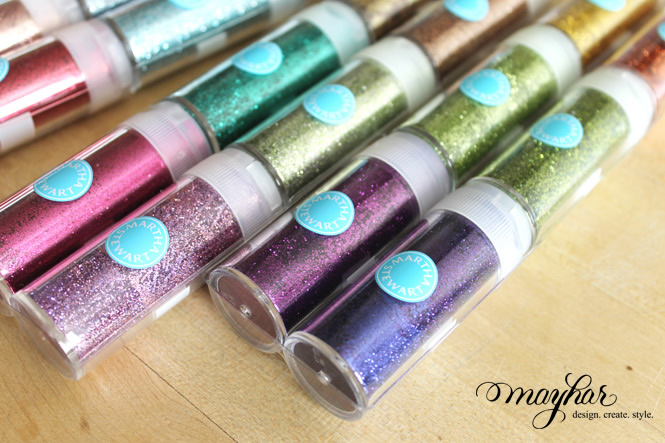
- Assorted glitter colors (Again, the Martha Stewart collection of glitter from Joann’s is beautiful!)
- Ribbon (This is entirely up to you, but I used 6 different kinds of ribbon all under or around 3/4″ thickness. You do not want to get much wider than that as they will be trickier to attach to your wand)
- Small Paintbrush
- Elmer’s Glue
- Hot Glue
- Scotch Tape
- Scissors
- Needle & thread


(1) Your dowel rod will be your wand base, and you can decorate it in any way you like! Using my paintbrush, I block painted mine in two complimentary shades of green and then added detailed strips of glitter. This method is extremely easy…although you do have to wait for each layer to dry. Start with your base color and cover the entire wand. Once this is dry, you simply tape off sections to receive new color. When the new color is dry, you can gently peel the tape to reveal clean lines. For glitter application, tape off a section in the same way, but paint glue in between the lines. Drizzle glitter over the entire glue covered surface and once dry, gently peel off your tape. You should be left with a clean banded strip of glitter.


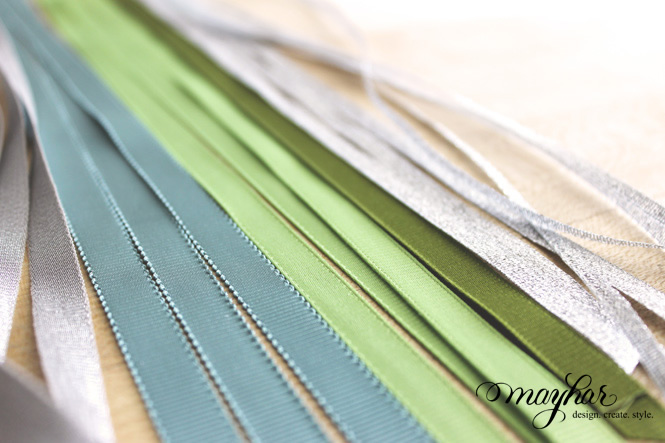
(2) Once your base is complete, you can work on your streamers. I used a total of 18 streamers in an assortment of colors and textures. I found a nice metallic silver ribbon at Joann’s which had a nice stiffness and allowed me to twist it into soft curls, which added a nice touch. Cut each of your ribbon pieces right around 18″ long. If you vary the lengths slightly, it will add a touch of dimension.
(3) Once your ribbon is cut, arrange each piece on top of each other in whichever order you would like. I evenly distributed my colors, but you can arrange as you like. If you wanted to create an ombre effect, you could arrange in a gradual color progression.
(4) Once alligned, quickly sew through the center of the ribbons and wrap your thread around several times, just to secure them together.
(5) When this is all complete, you will attach the top of your ribbon to the top of your dowel rod with hot glue. Be sure to use enough hot glue so that it is secure. When complete, select one color of ribbon to wrap around and over the spot where you attached the ribbon, in order to mask the seam.
(6) And that is all!


Because there are so many ways to decorate your wand base, feel free to experiment and try any assortment of details. You could leave your wand plain for a more rustic feel, or use a lacquer paint to dress it up even more. We hope you enjoy! Happy wand making and Happy New Year!!
We wish you a magical 2013.
These are stunning! Thank you for showing how a simple decoration can be so elegant!
Cute and simple. I love it and know Little Man would have fun playing with one too.
Yes! These would be great for a child’s party.
Thanks, Sally! They’re simple to make, and can used a favors that people will want to keep!